Sanding/Scraping...
Deck is separated from the hull in order to scrape and sand the interior. Exterior was scraped and sanded first.
Deck and hull washed in alcohol to raise the grain and to check for glue spots.
Ready for fiberglassing!!!!!!!
System Three ( resin & hardner ) used to fiberglass kayak. Picture shows #1 hardner, however, I returned the #1 hardner and used #2, a medium hardner.
With help from my brother Keith we fiberglassed the exterior ( hull & deck ). First time fiberglassing so I needed a little guidance from my brother. Fiberglass cloth waiting for resin!!!!
First coat of resin.Three coats were needed.
Keith is making sure the resin and hardner is mixed.
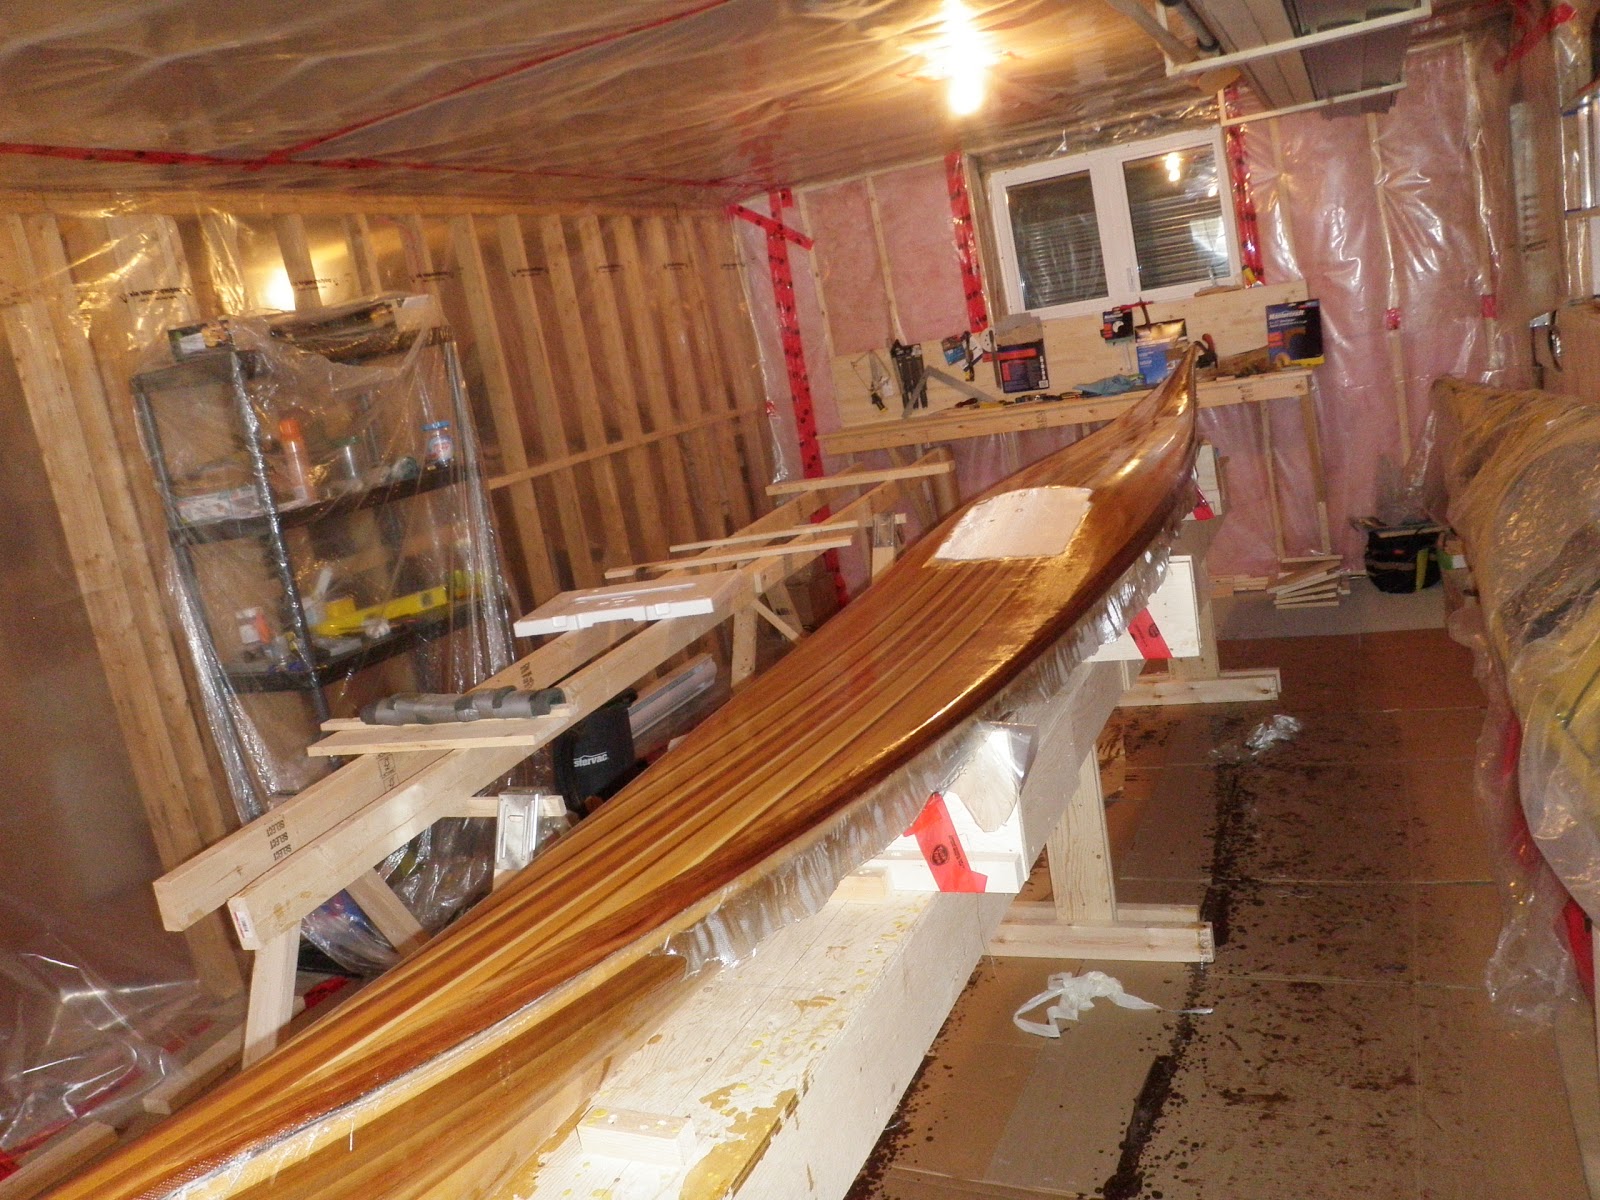
Exterior hull fiberglassed waiting for the deck.
Receiving first coat of resin
Deck separated from hull in order to fiberglass the interior of the hull and the underside of the deck.
Fiberglassing interior.Glassed the bow and stern areas separately. Glassed the remaining part of the hull after.
Interior supports for footbraces.
Filled the bow and stern tips with a mixture of resin and cotton fibers. This is where I will drill holes for the carrying handles.
Cut my first hole in" fear" for the skeg box.
Skeg box installed with fiberglass cloth and resin.
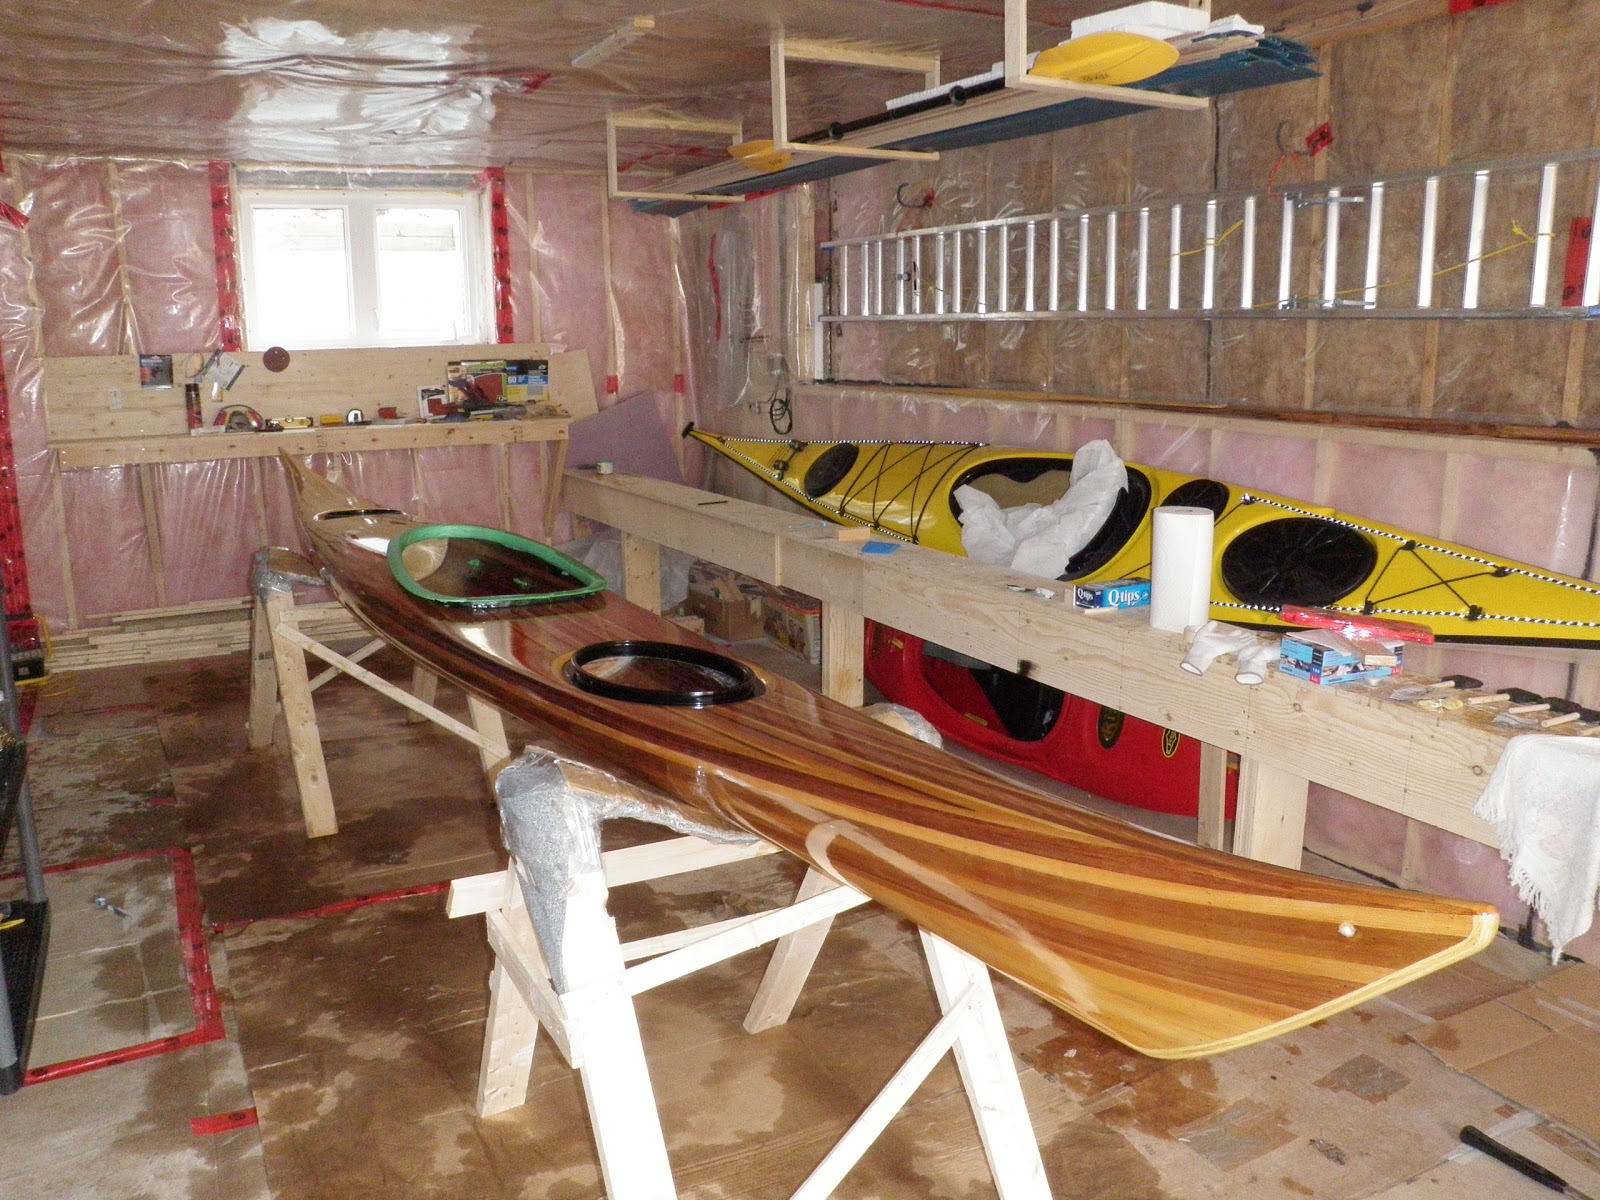
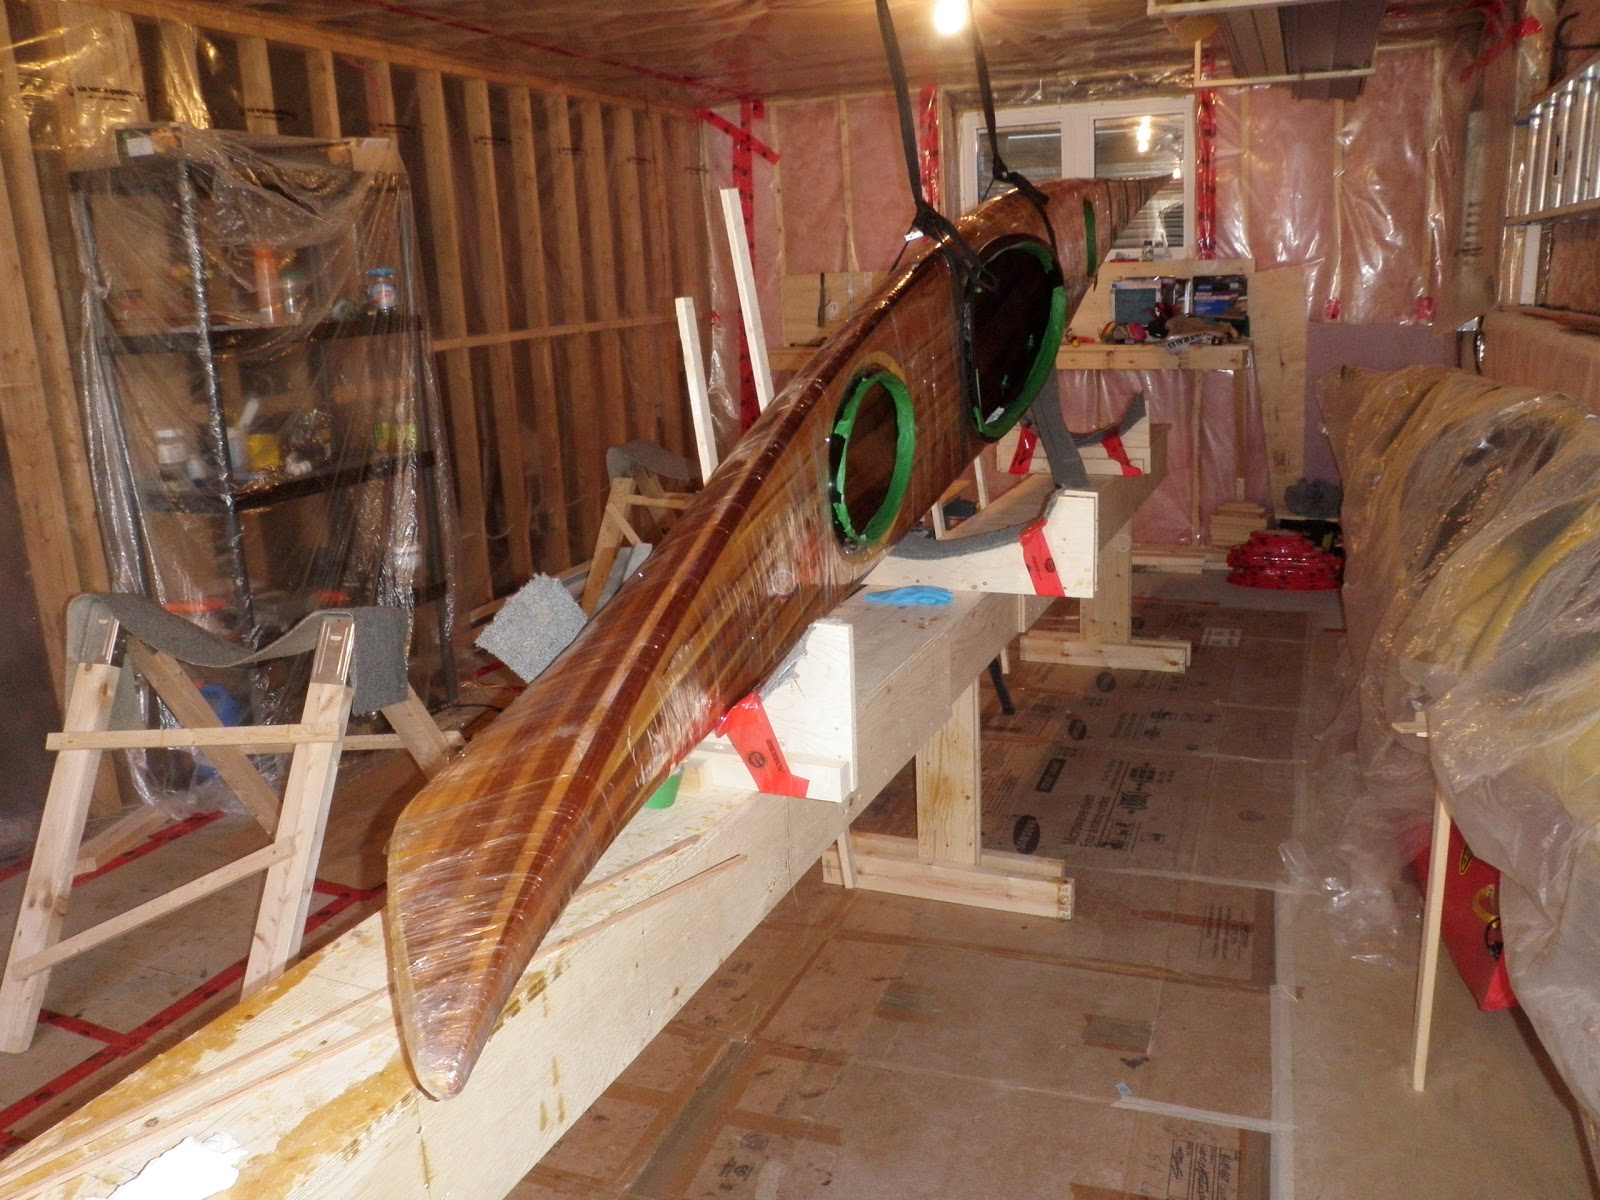
Hole cut in deck for front hatch installation.
Pine ring to help with hatch installation.
View from underneath.
Hole for rear hatch.
Pine ring for rear hatch.
View from underneath.
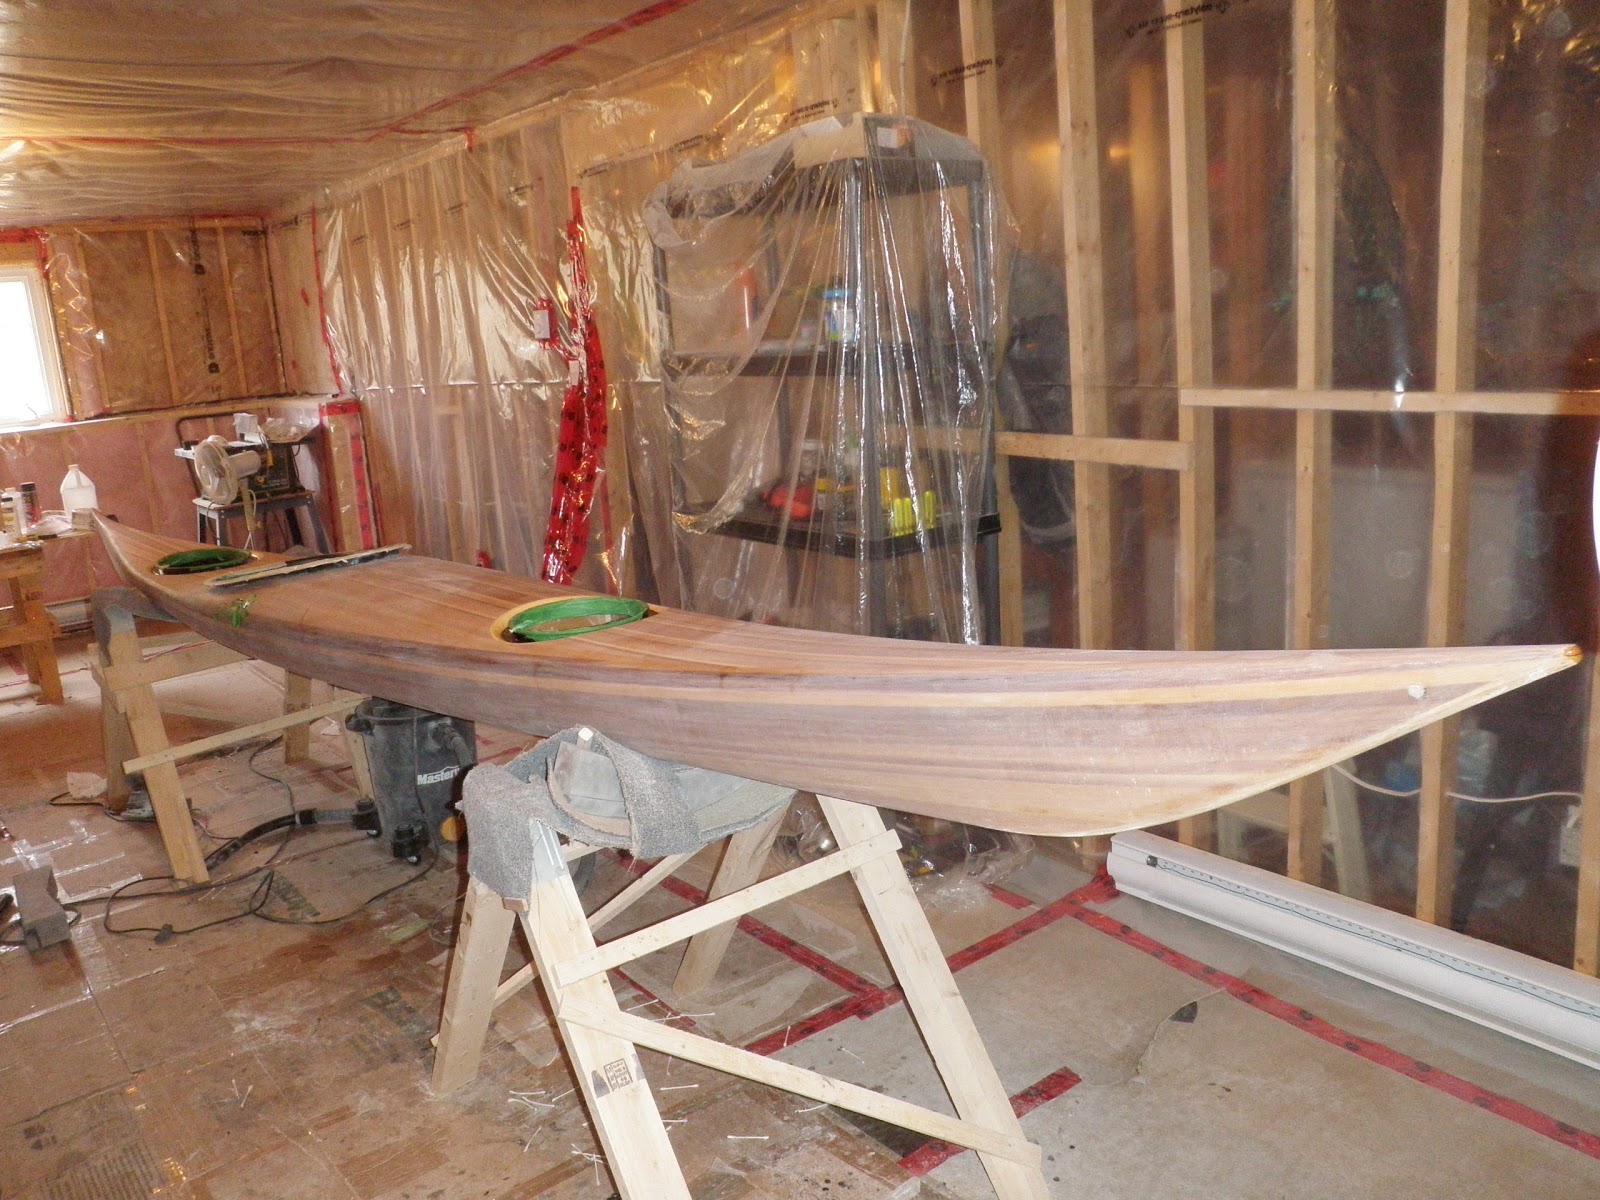
Cockpit opening.
Used styrofoam to help shape cockpit coaming. Coaming was created with 10 layers of cloth. I dyed the resin with printer toner. After sanding I painted it with EZ liner.
Hatch rims and coaming complete.
Control box for the skeg.
Hull and deck taped together. Used 3 rolls of tape.
Looking inside. Fiberglass tape ready to be filled with resin.
Cloth filled wit resin-inside seam.
Ready to add resin to the fiberglass tape on the inside.
Tilted towards the bow to ensure resin stays in the seam.
Tools used to reach into the bow and stern. The extension on the brush and the cup worked out quite well. However I had to get one arm and my head into the hatch openings. Quite an interesting endeavour.